T'is the season to be crafty - handmade gifts are most definitely trending this Christmas and why not? After a year of uncertainty it's great to see people branching out and trying new things. Here is a tutorial on how to make some super easy festive beeswax wraps. An envrionmentally friendly, low cost stocking filler. At this time of year it's easy to get into single-use habits - especially in the kitchen. At Bore Place as part of our commitment to a sustainable agenda, we made the decision to use reusable alternatives to cling film. Beeswax wraps are a fantastic reusable way of storing food, and they look great.
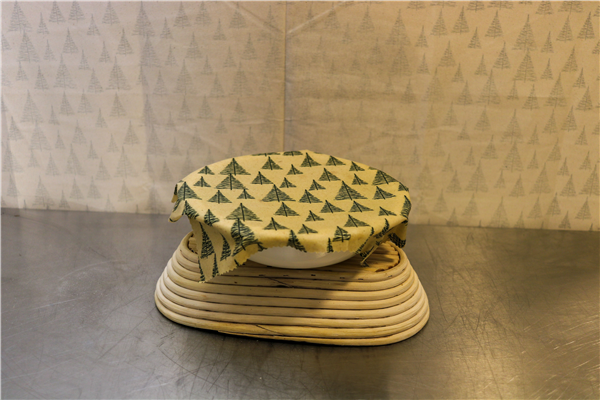
They are also perfect toppers for your xmas puds!
You will need -
- Pinking shears (to ensure your wraps don't fray at the edges)
- Ruler and chalk to measure wraps
- 1 metre of 100% cotton fabric
- Saucepan filled halfway with water
- Stainless steel bowl
- Wooden spoon
- Fine bristled paint brush
- 2 large baking trays
- Newspaper/greaseproof (something to put down to keep surface clean)
- 100g beeswax (can be pellets or block)
- 70g pine resin
- 10ml jojoba oil
Makes roughly 12-14 medium size wraps
Step One:
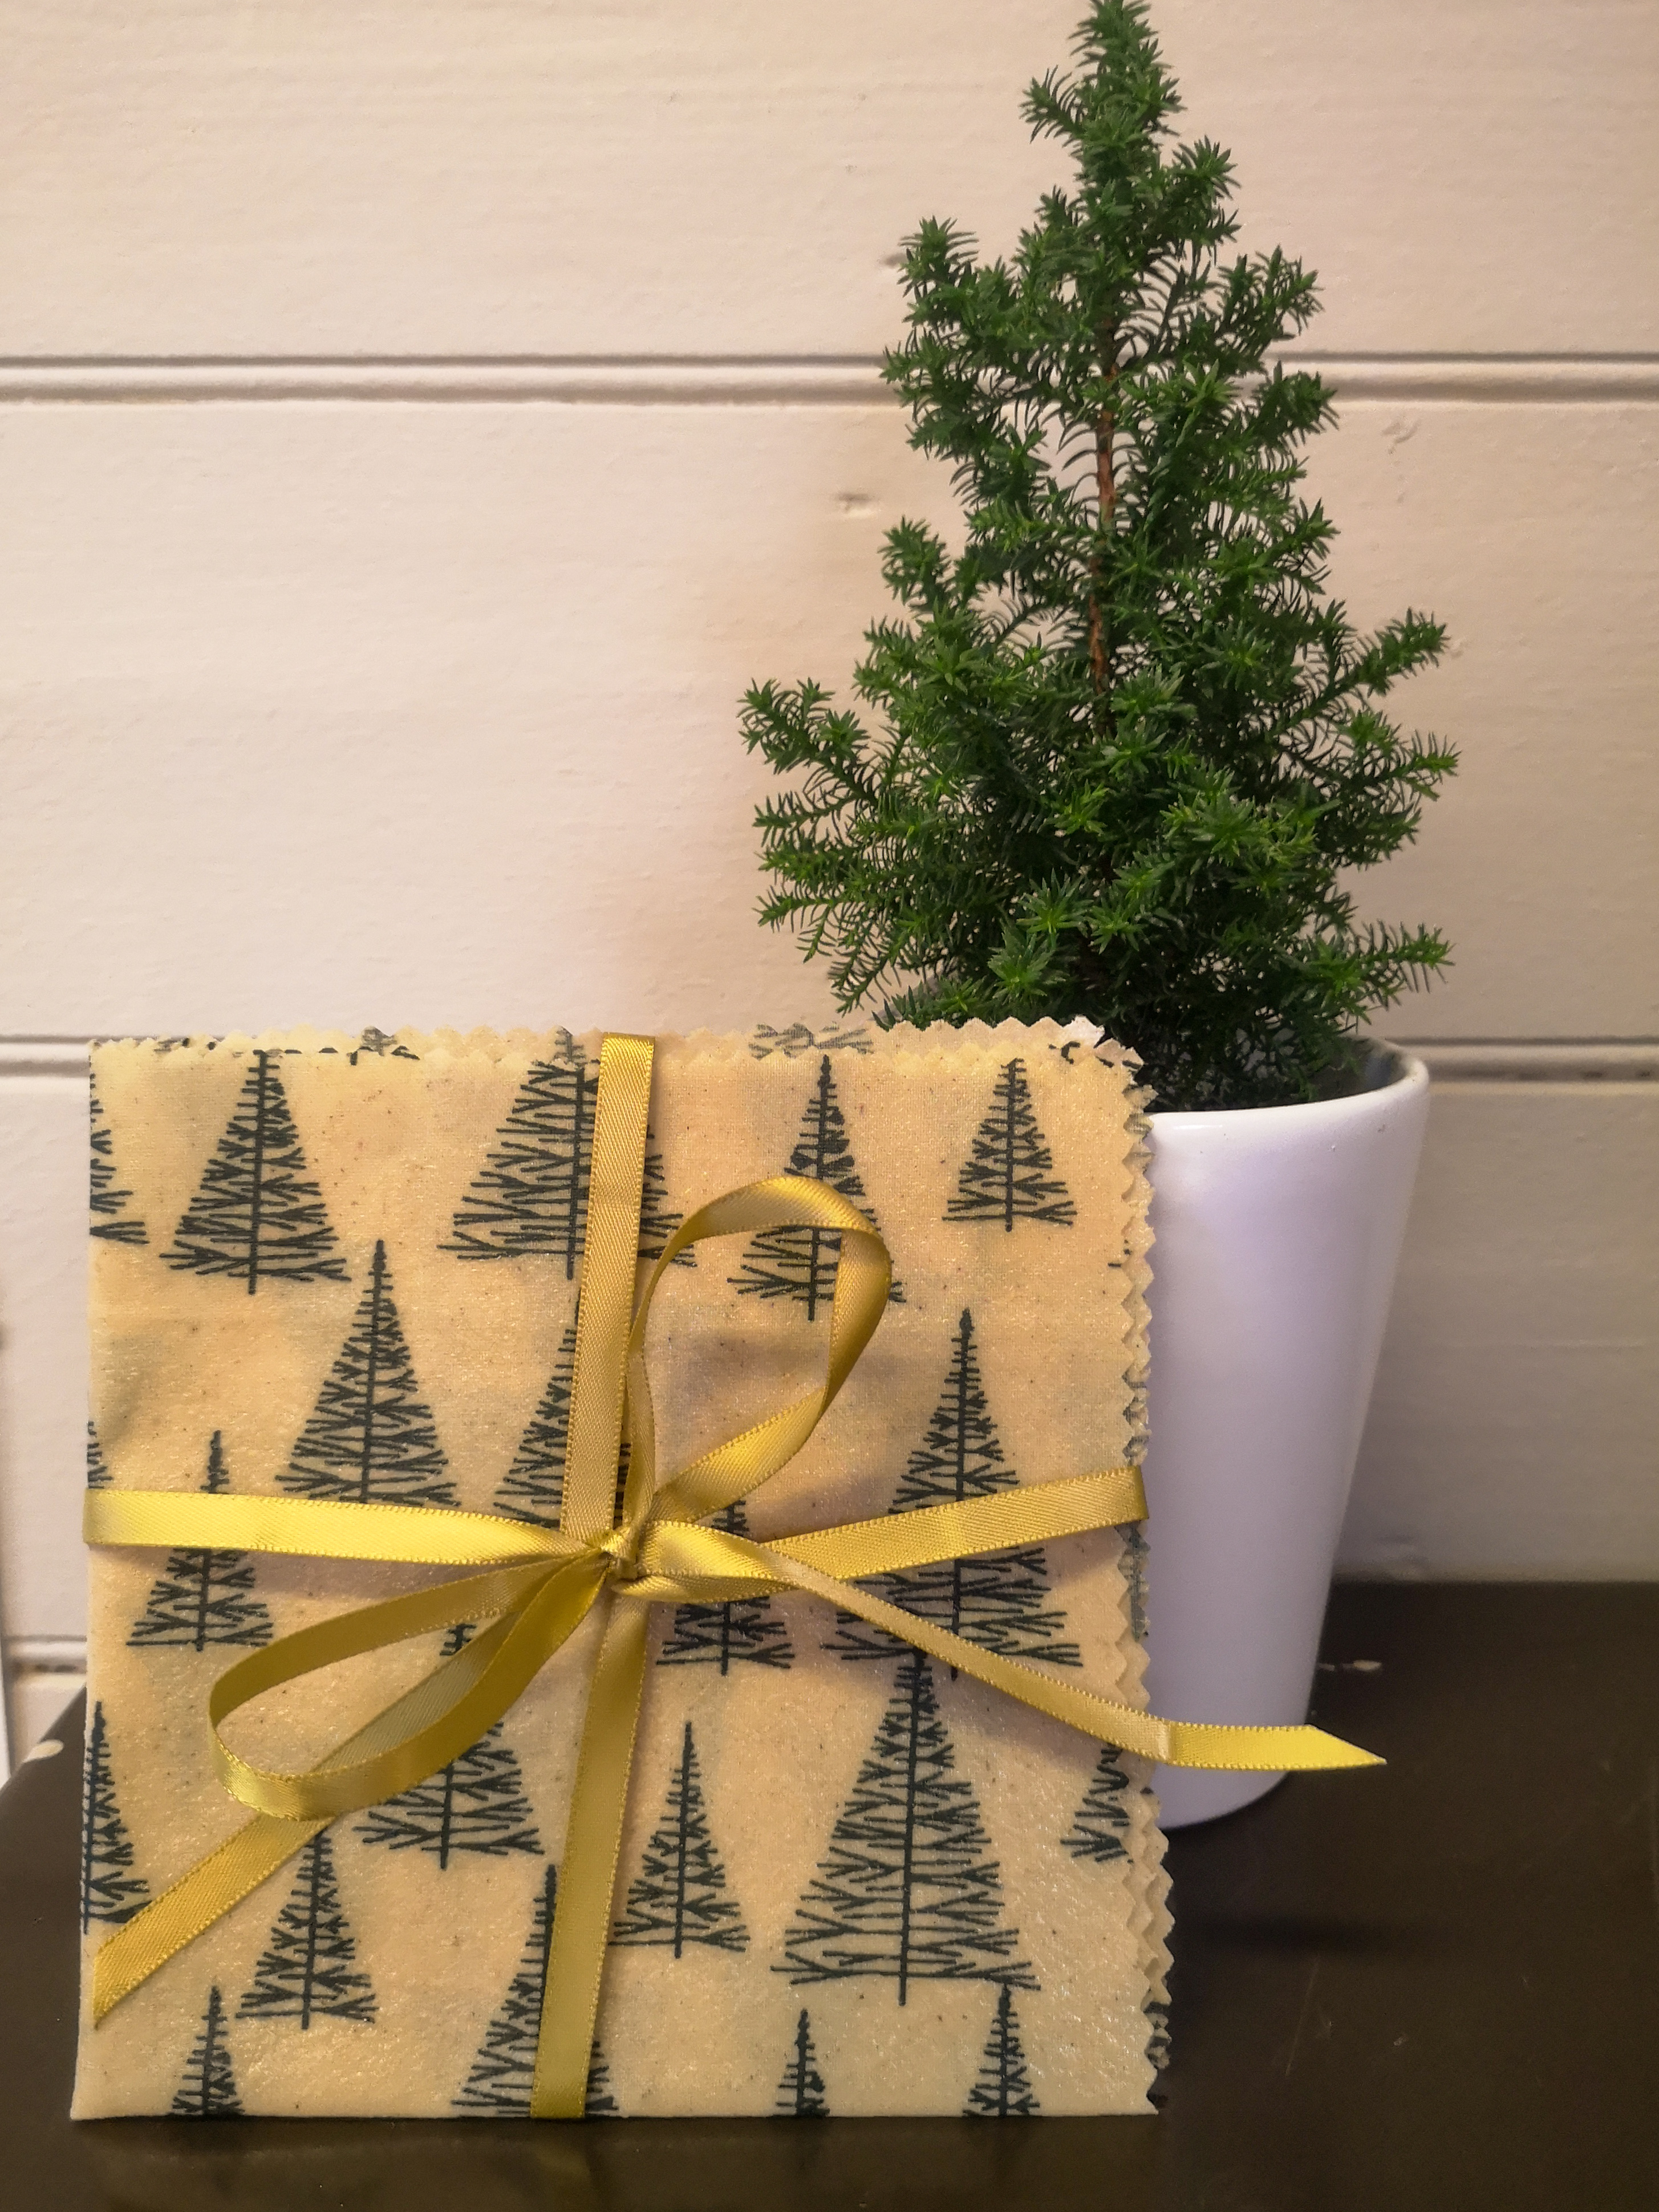
Source some 100% organic cotton fabric (any design you like). I chose a natural Chrismas tree fabric from KimsCraftyCornerUK. Once you have your fabric measure out the size of your wraps using a ruler and some chalk. Small - 20 x 25 cm | Medium - 25 x 33 cm | Large - 33 x 33 cm. I find medium covers most dishes and tuppaware so I made all of mine the same size.

Step Two:
Whilst you are cutting your wraps to size, it is a good idea to get the pine resin melting. Pop your saucepan filled halfway with water on the hob and put the stainless steel bowl on the top and add the 70g pine resin. This can be left on a medium/high heat while you are cutting the rest of your wraps. The resin takes a while to melt down but is essential as it has antimicrobial and antibacterial properties.
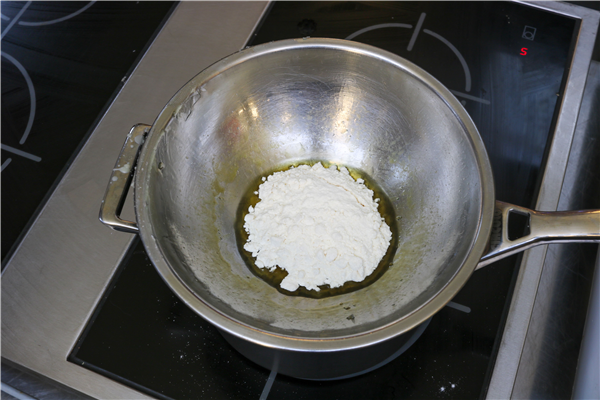
Step Three:
You should have all wraps cut to size and your pine resin will be melted down. Don't worry if it's tacky, this will loosen up once the other ingredients are added. You can now add 100g of beeswax to the mixture and wait for this to melt in with the pine resin.
Step Four:
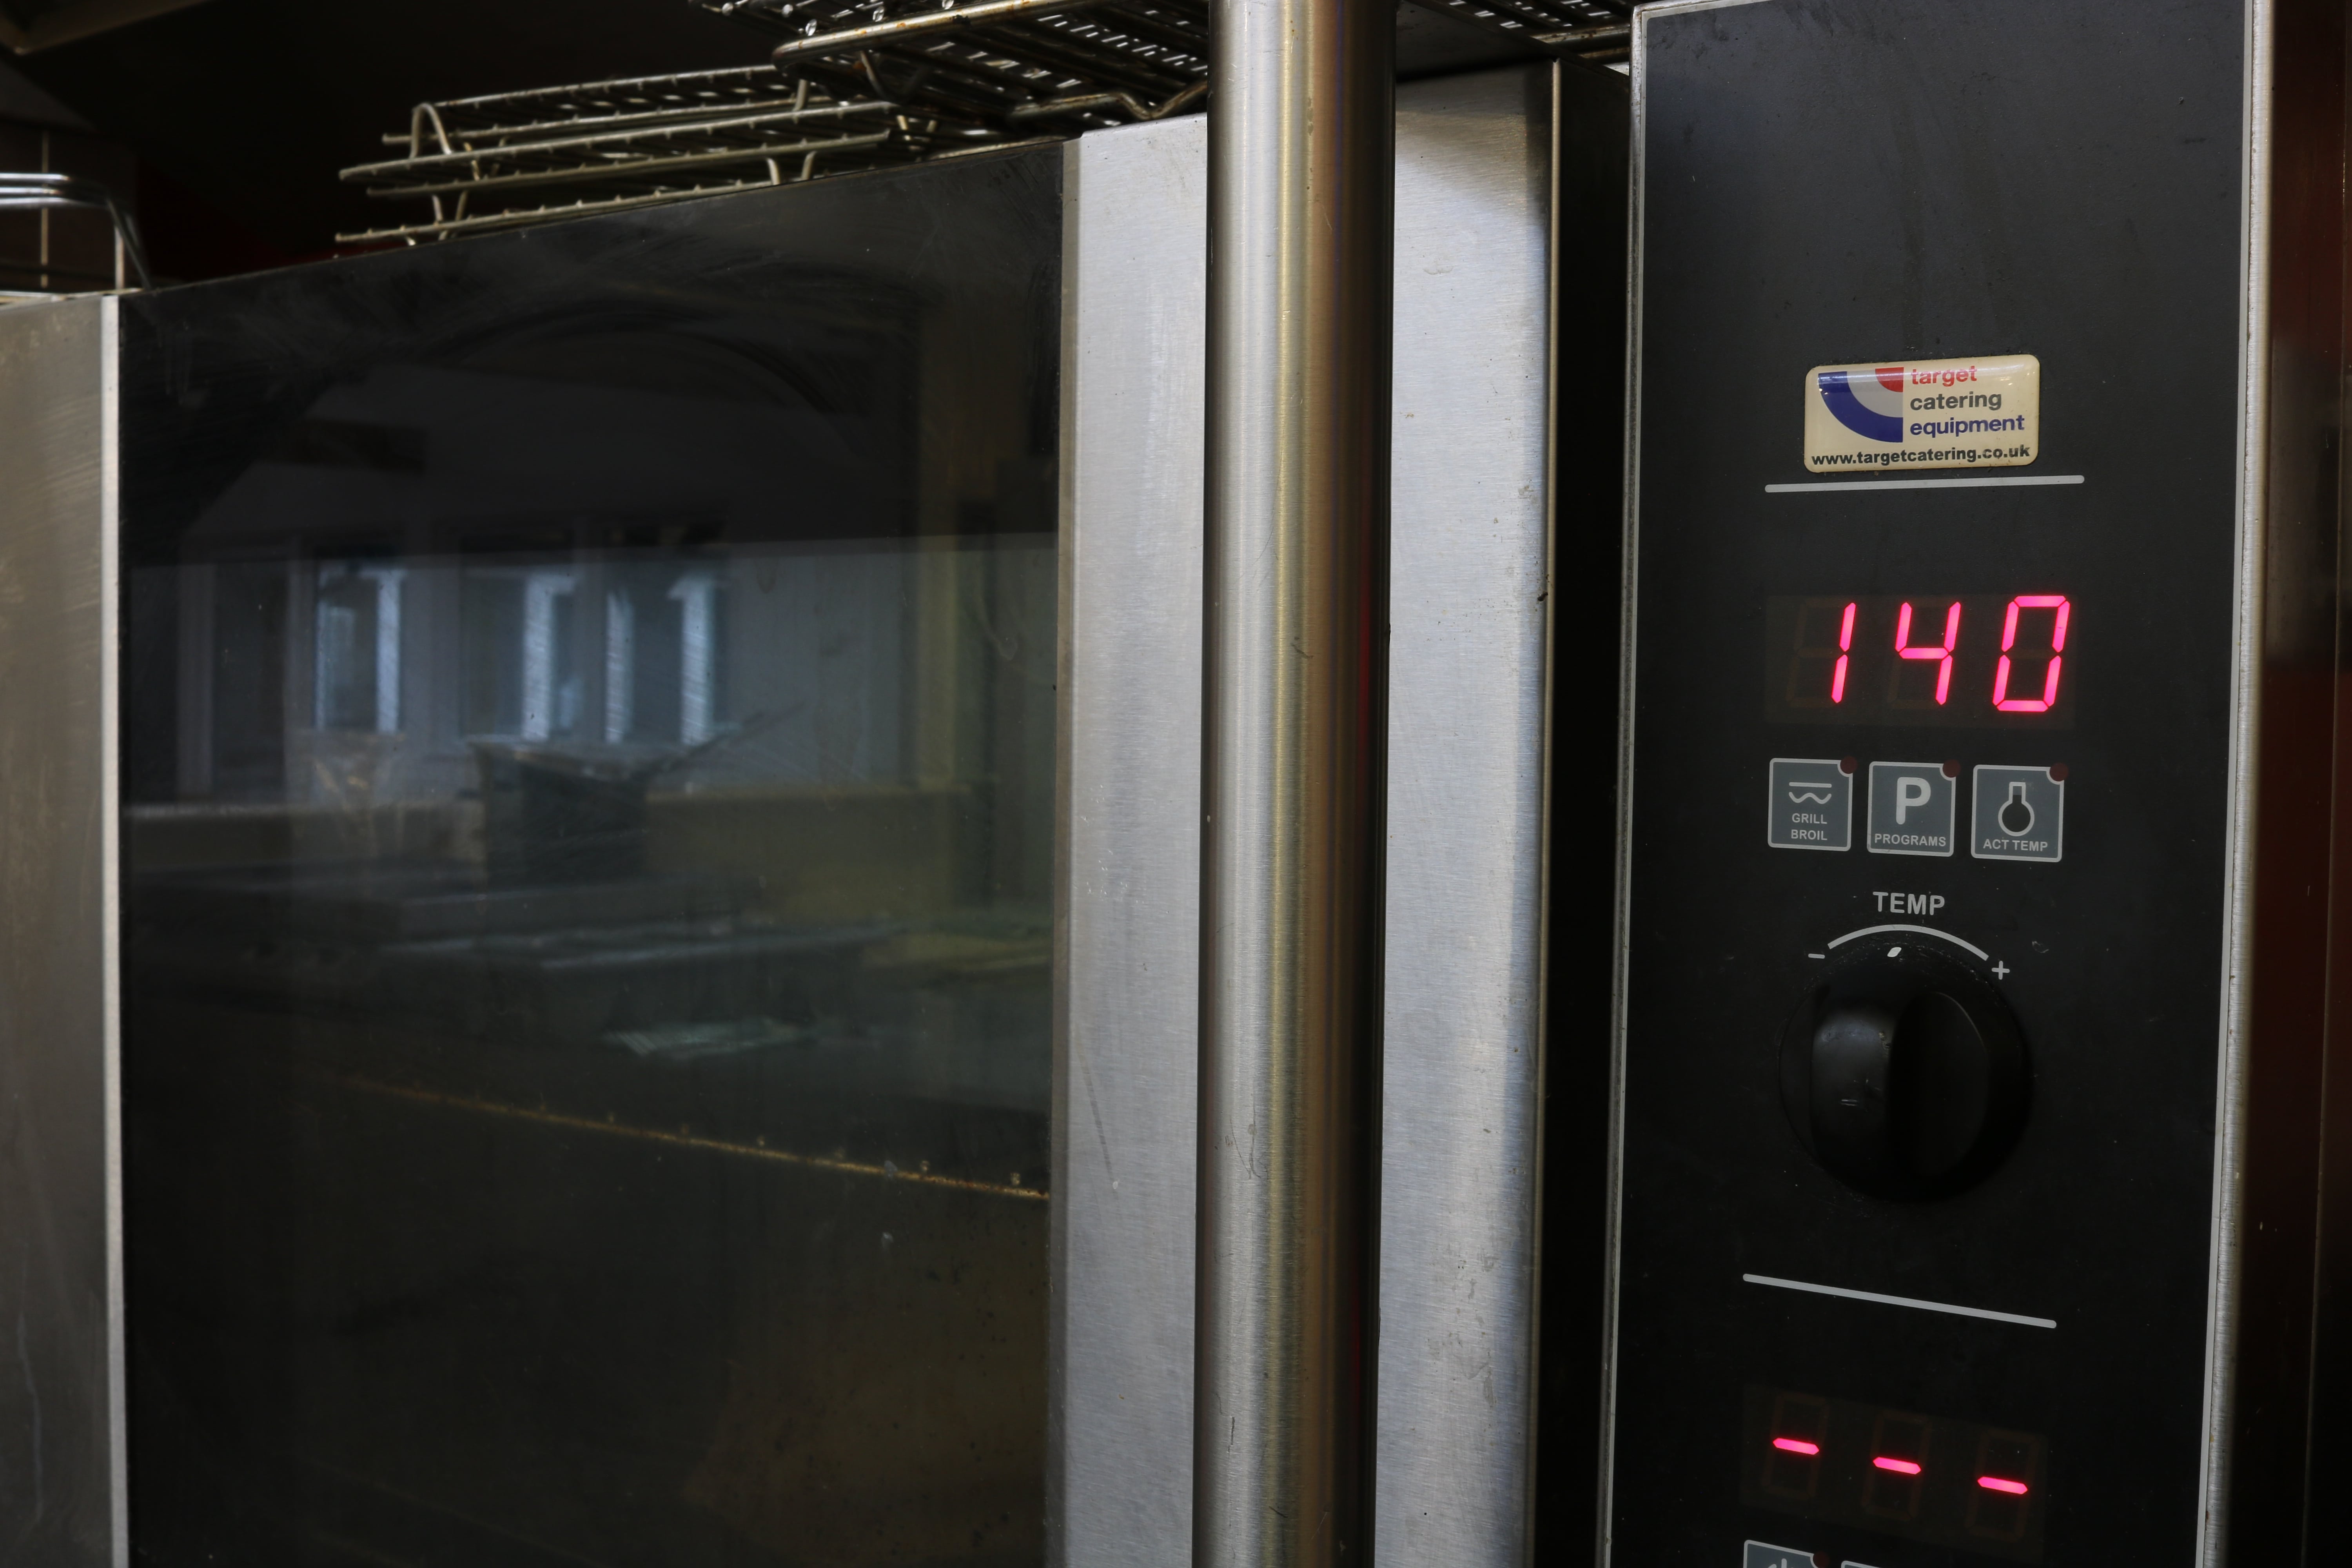
Preheat your oven to 140°c.
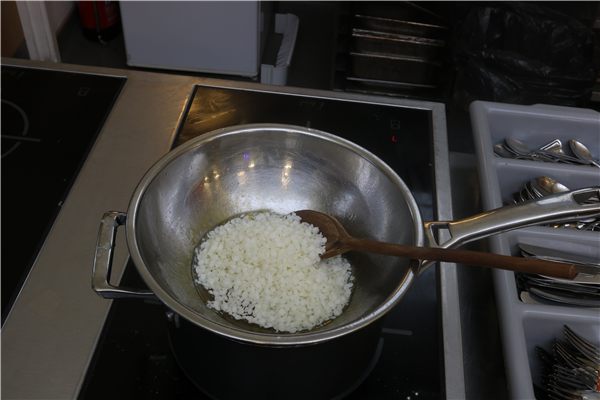
Step Five:
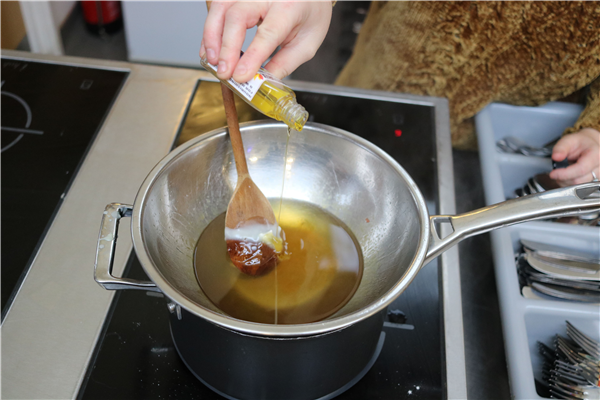
Check on your beeswax mixture, it should all be melting nicely. Feel free to stir it with the wooden spoon to combine the ingredients. Pour in the 10ml of jojoba oil to finish off the mixture. Jojoba is super important as it is the element which makes the wraps pliable. They need to be able to mould around your chosen dish.
Step Six:
The mixture is now ready! Line both of your baking trays with greaseproof paper and pop one of your wraps in the oven for 2 minutes.
(If you are making a second batch of wraps and have already used the brush and tray - it's a good idea to melt the hardened wax off in the oven).

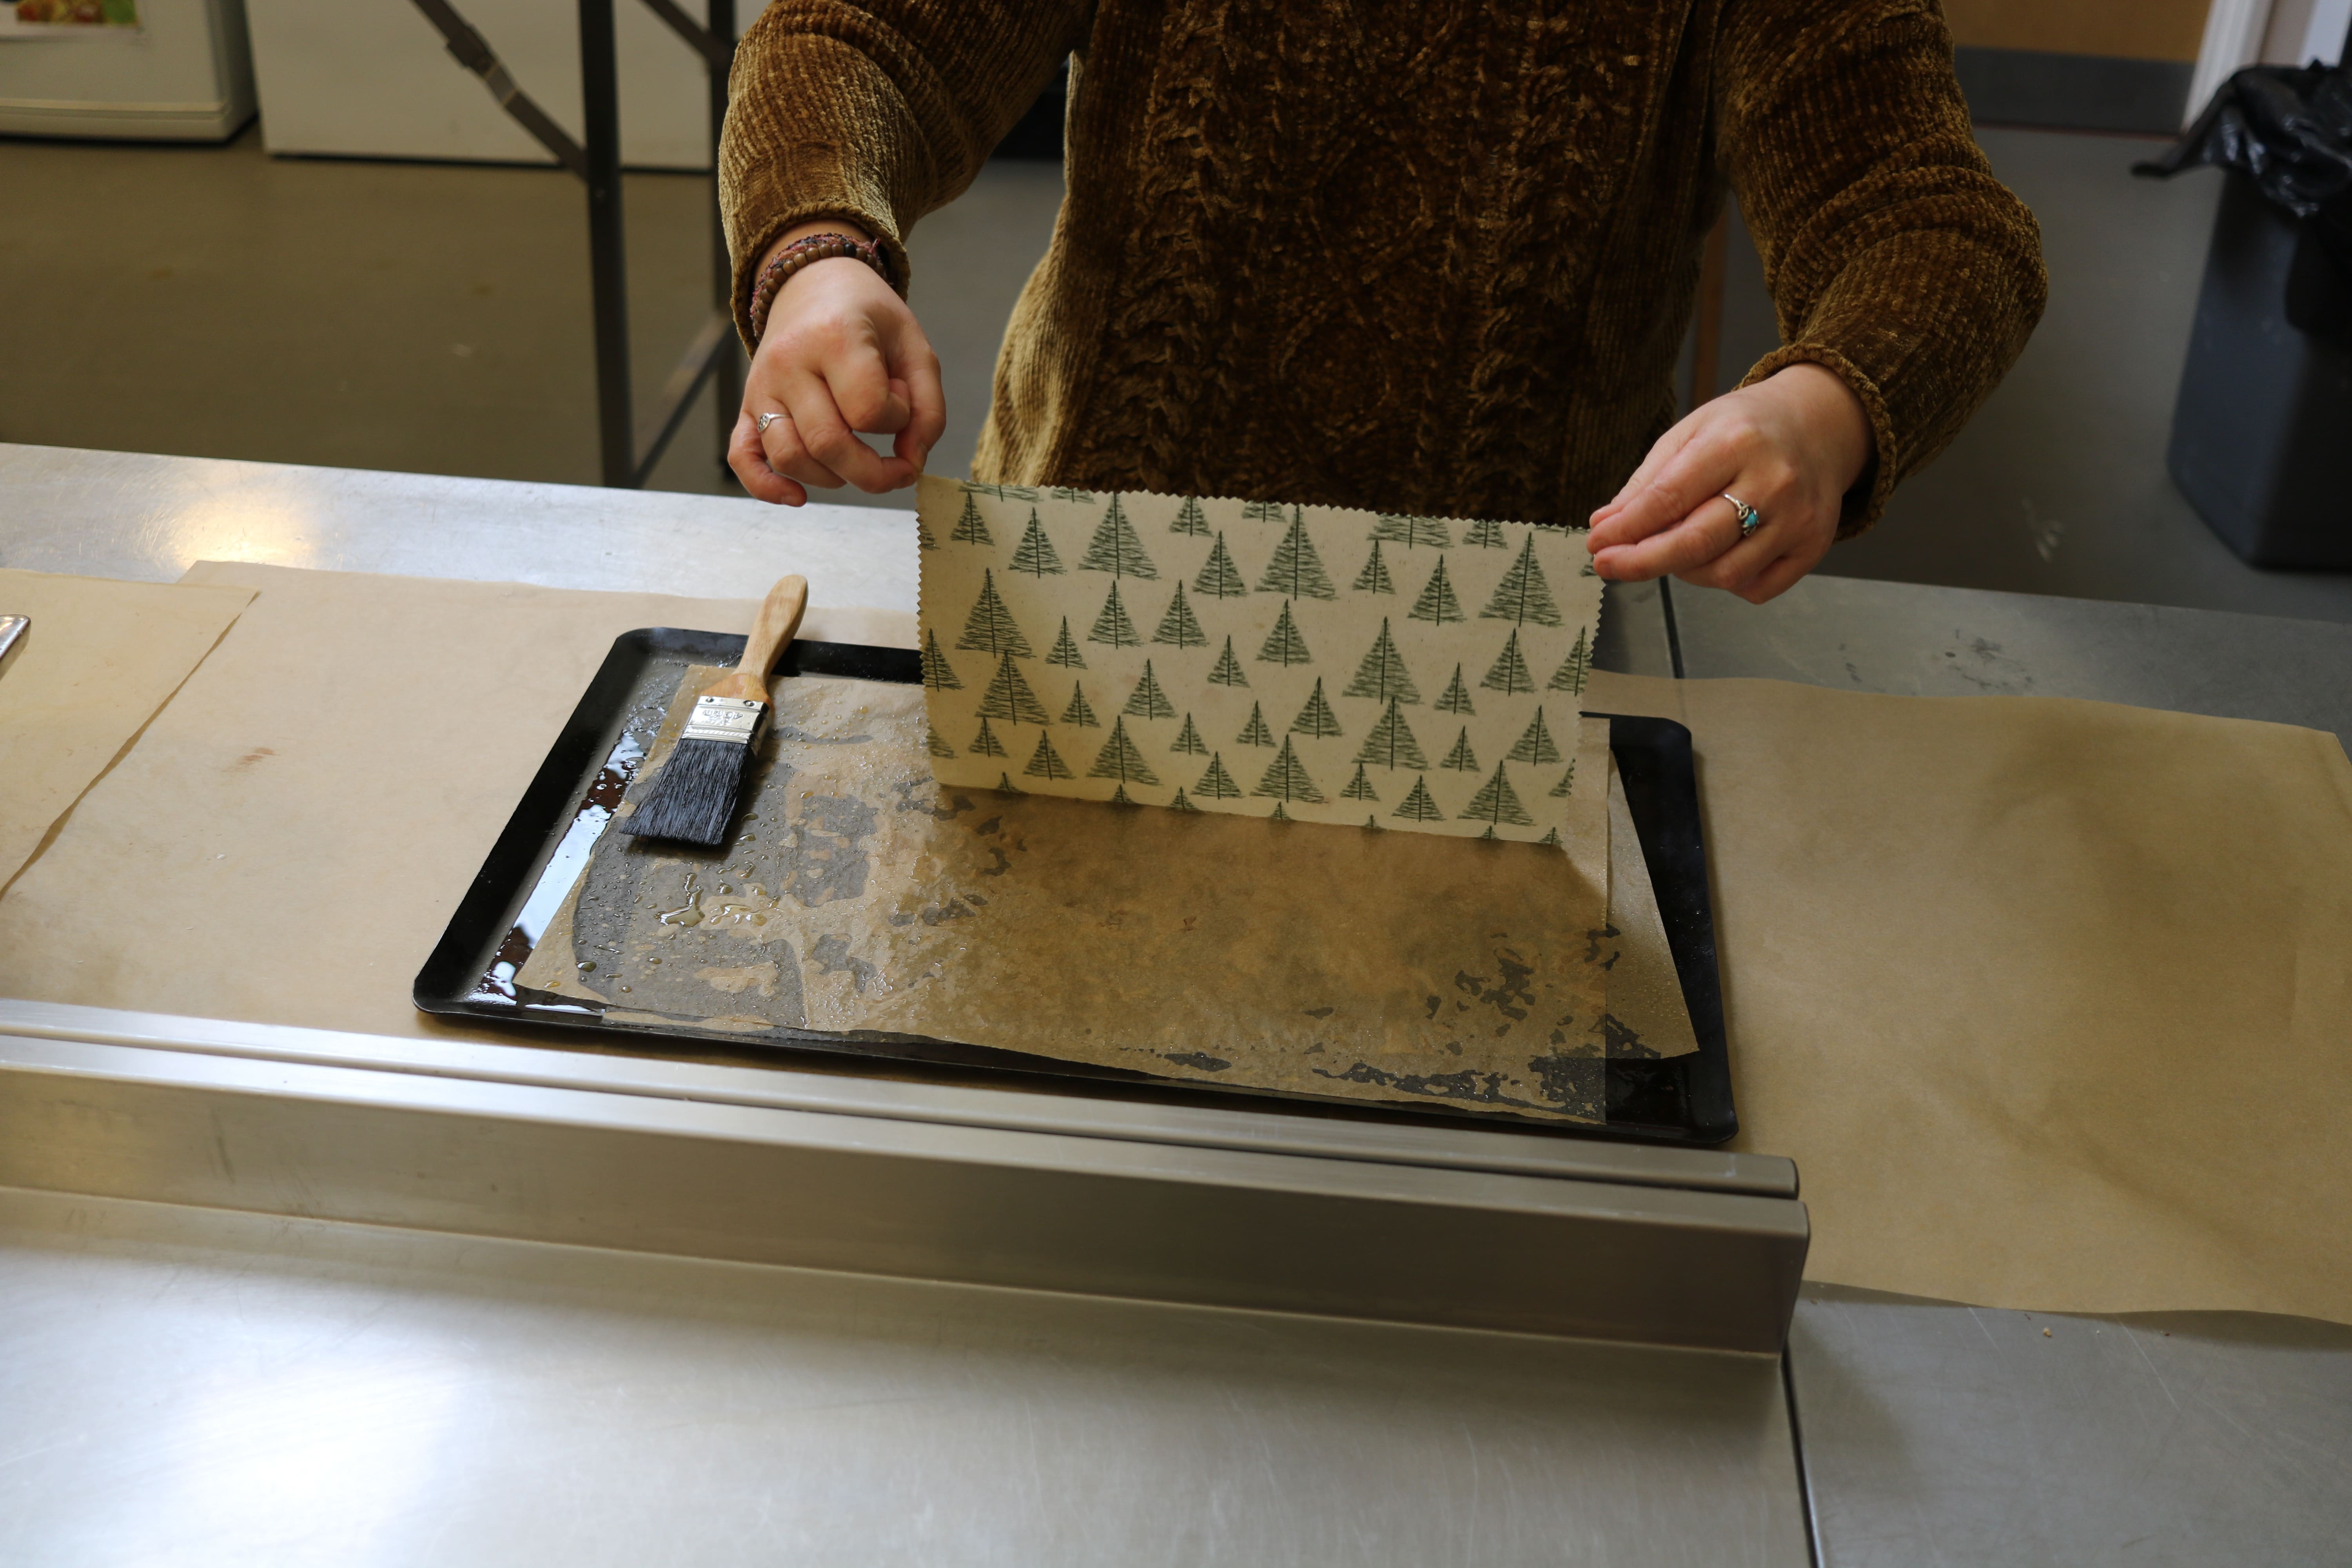
Step Seven:
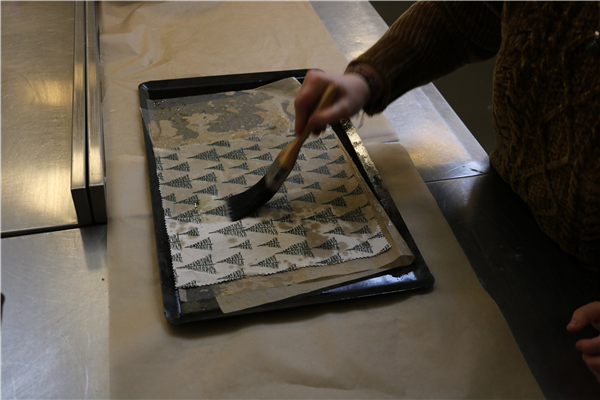
Remove the fabric from the oven and begin to paint on your wax. I keep a 'dry' tray in the oven for heating the fabric and use the other as a 'wet' tray for painting on the wax.
Step Eight:
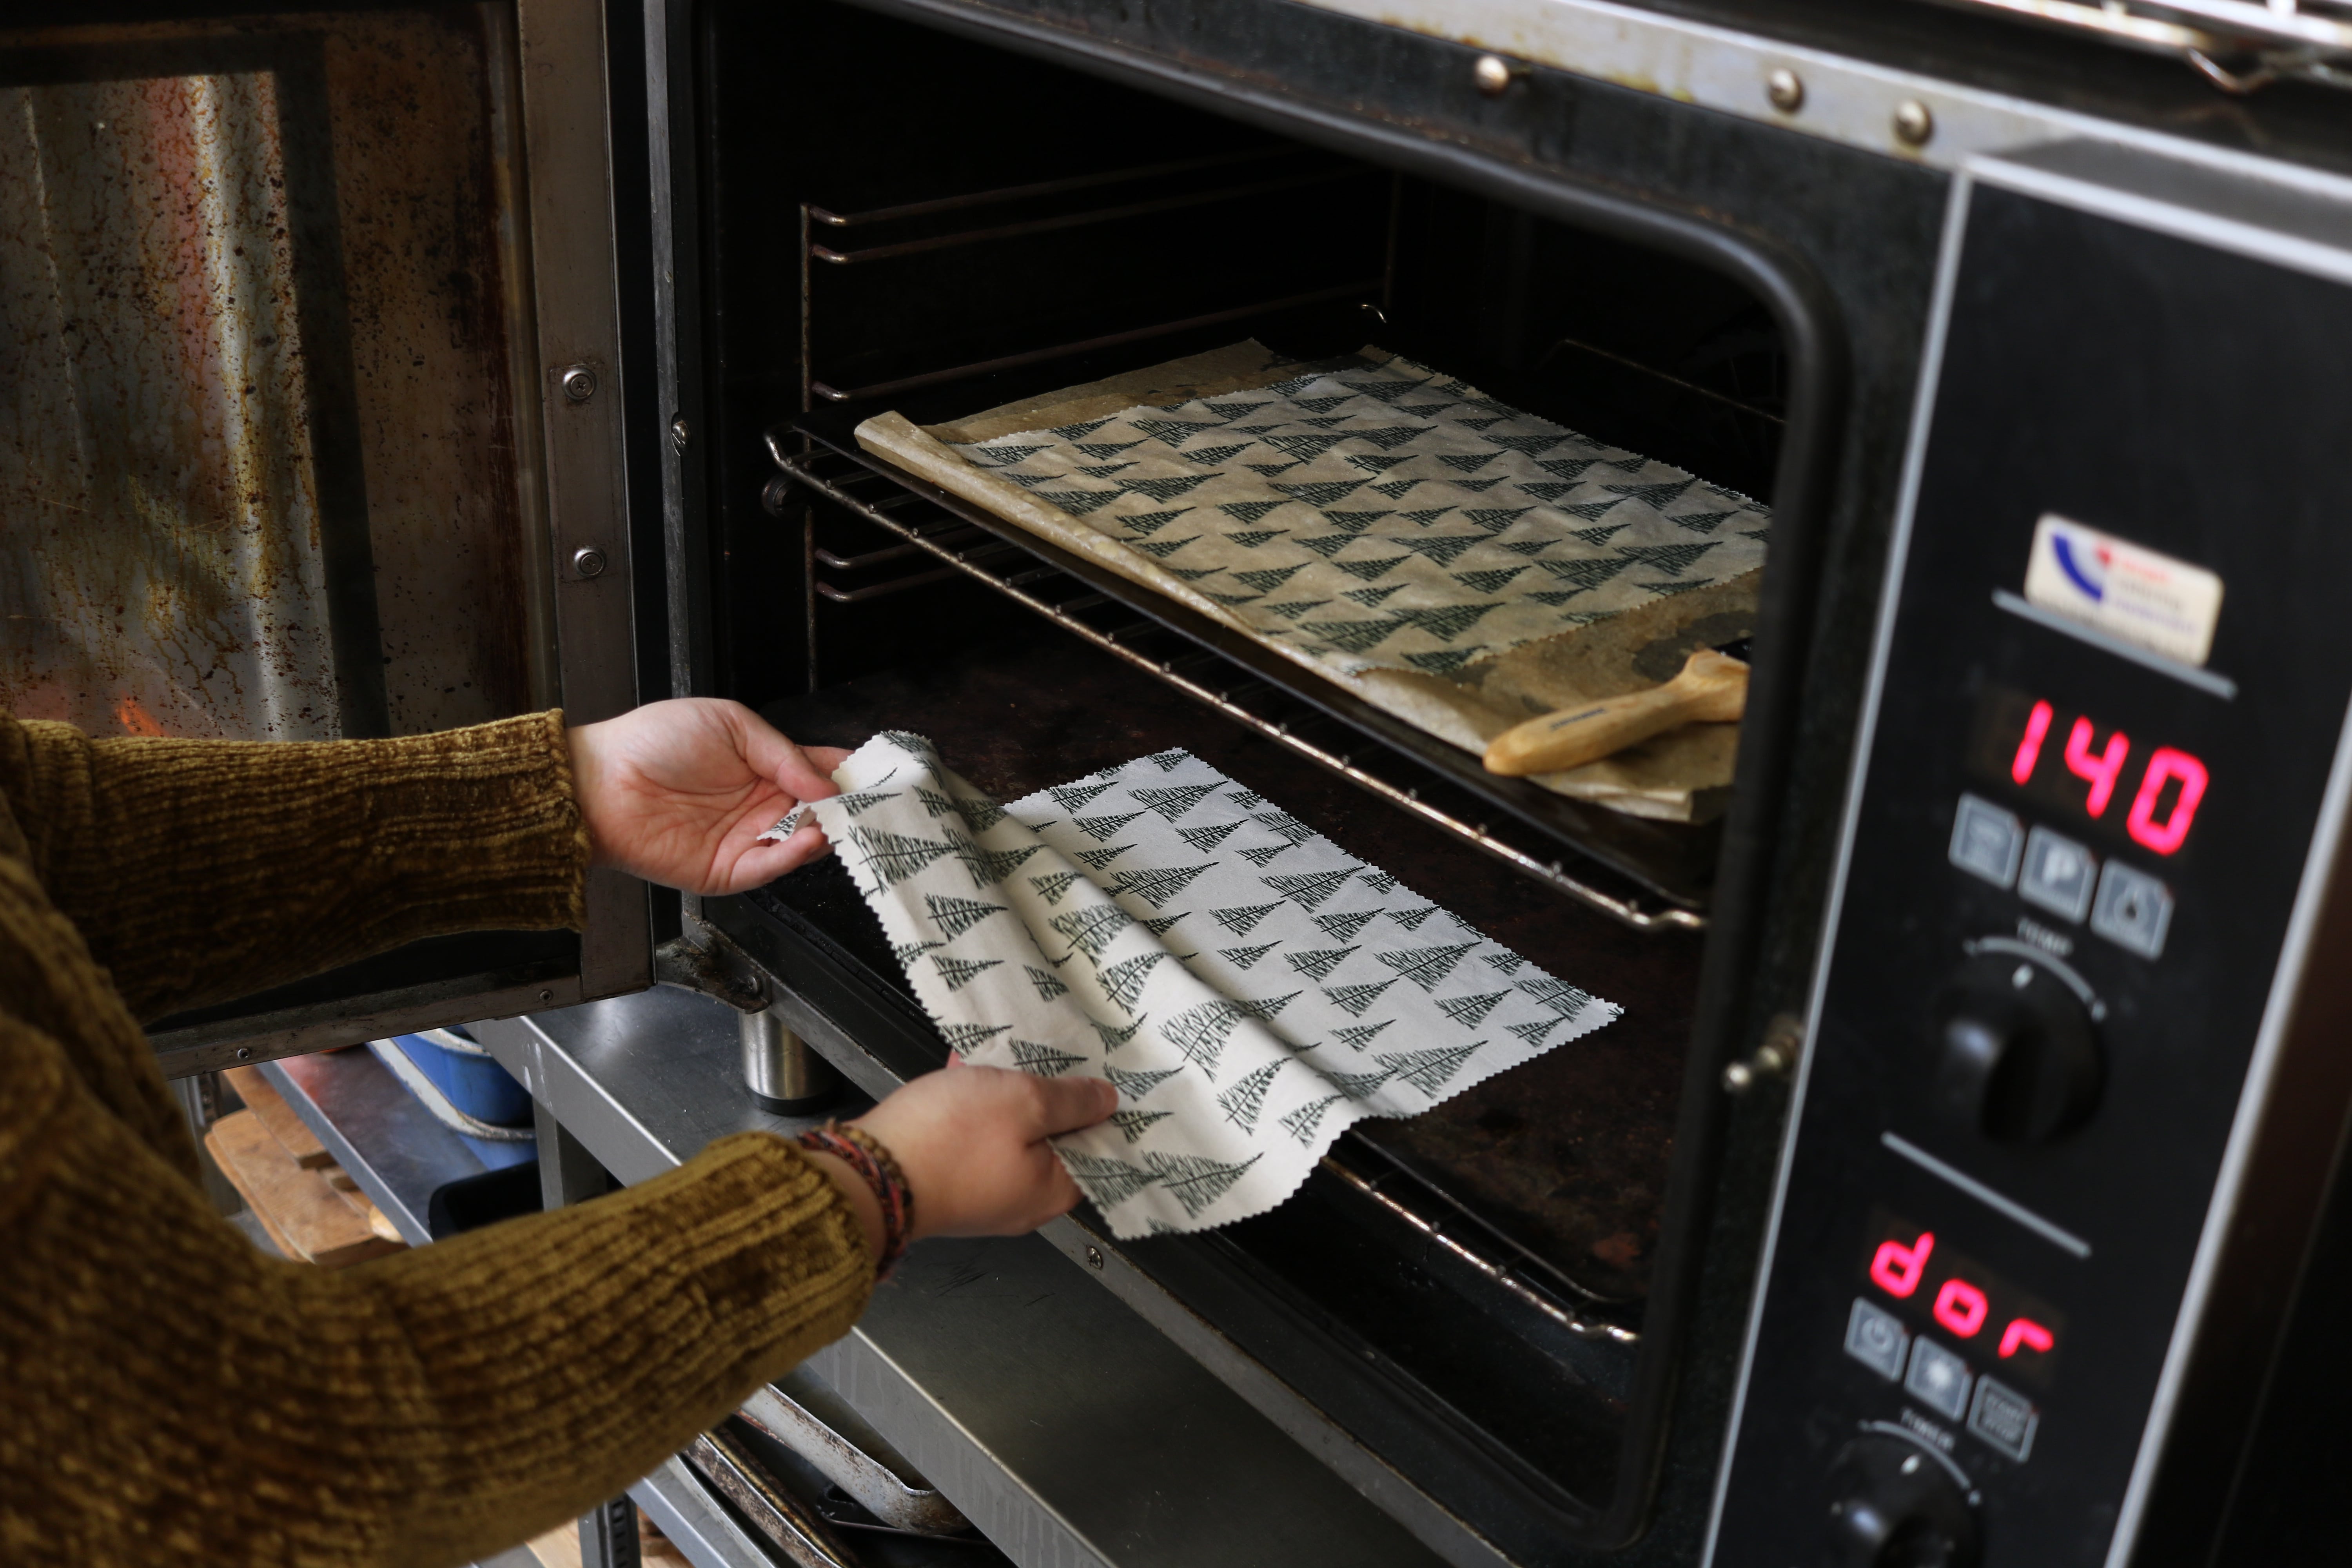
Pop the whole tray back in the oven for 2 minutes to ensure the wax is evenly dispersed. I also put the paintbrush in the oven to keep it soft and pliable. Put your next dry piece in to warm up at the same time.
Step Nine:
Remove the waxed piece from the oven and give a final brush over to make sure there is even coverage. Leave for a minute and then peel off the wrap and hang to dry.
Step Ten:
Repeat the process for your other wraps. Your wax might begin to harden over time, you can just pop it back on the heat and remelt as necessary.
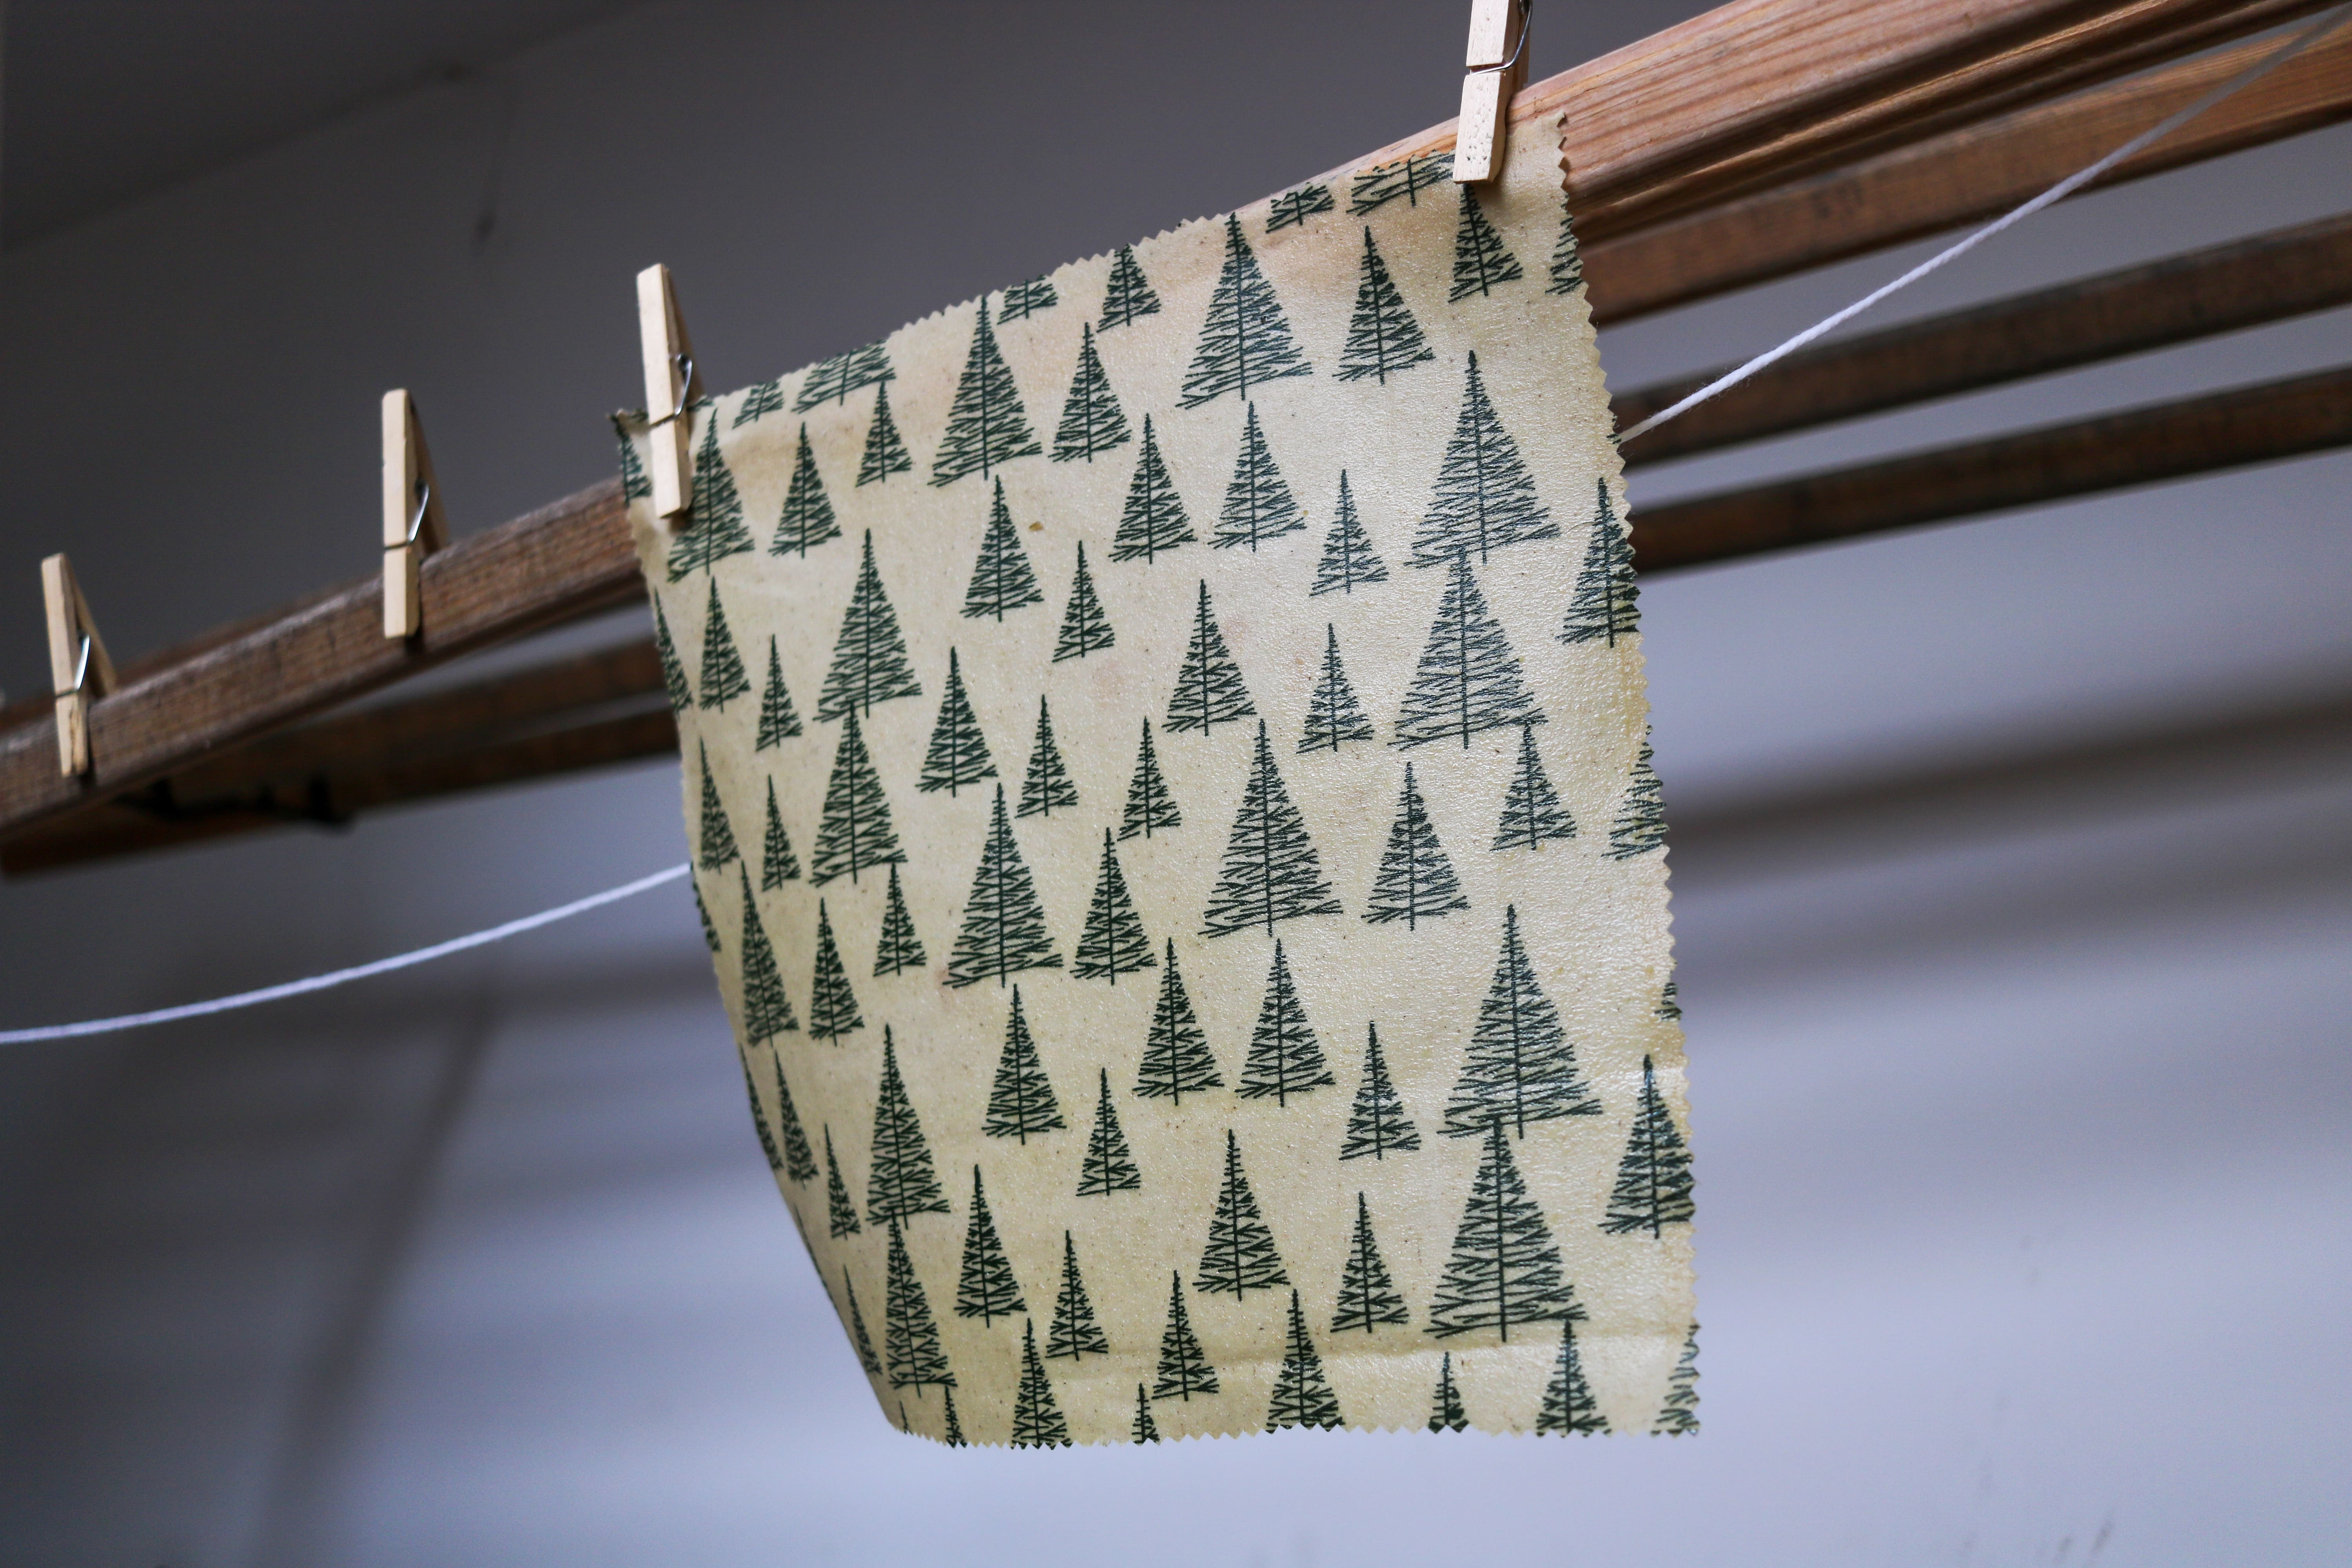
Step Eleven:
Once all your wraps are finished, hang to dry. They dry pretty much instantly and should be nice and pliable. Feel free to test them on your own dishes. Otherwise you are all set to wrap them up and stuff them in some stockings!